Gaming chairs are designed to provide maximum comfort and support during long gaming sessions. As a result, they often see a lot of use and can accumulate dirt, sweat, and other debris over time. While surface cleaning helps to remove visible dirt and stains, deep cleaning is necessary to remove embedded dirt, bacteria, smoke, etc. that causes odors and discomfort. In this article, we will discuss how to deep clean gaming chair using simple and effective methods that will leave your chair looking and feeling like new.
The cleaning process of a gaming chair involves different steps such as removing the detachable parts, vacuuming the chair, pre-treatment of stains, cleaning with mild detergents, rinsing the chair, drying the chair, and finally reattaching the detached parts
Before starting the cleaning process, it’s crucial to have a good understanding of the type of upholstery that your gaming chair has. Mishandling or using the wrong cleaning methods can result in irreparable damage to the fabric, leather, or vinyl of your chair.
Knowing the Chair’s Upholstery
It’s essential to identify the type of material your chair is made of and to use the appropriate cleaning products and techniques to avoid any potential loss or damage to the upholstery. Know your gaming chair’s upholstery material before cleaning to avoid damage and achieve a refreshed look.
Some of the most common upholsteries include:
- Leather
- Fabric
- Vinyl
- Suede
- Silk
- Linen
Always follow the cleaning instructions provided by the manufacturer to clean your chair without causing any damage or discoloration.
Steps to Deep Clean a Gaming Chair
Step# 1 – Removing the Detachable Parts
To remove detachable parts of a chair, you should first identify which parts can be safely removed without damaging the chair. Common detachable parts include cushions, covers, armrests, and headrests. Check the manufacturer’s instructions or manual to ensure that you are safely removing any detachable parts.
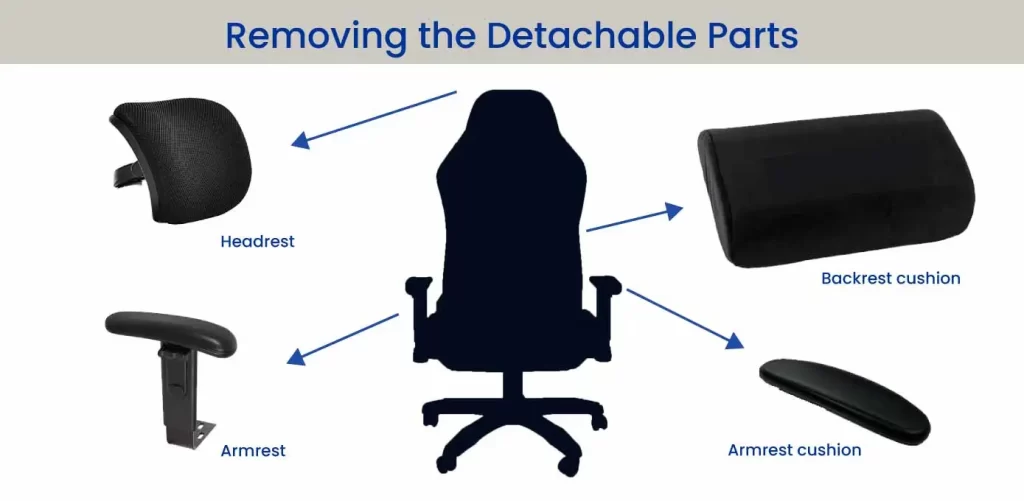
Carefully detach them from the chair, being sure not to force or twist them in a way that may cause damage. When removing parts of the chair, some may have clips, screws, or other fasteners, while others may simply lift off or slide out of place. Be careful to keep screws, bolts, and other small parts in a safe place to avoid losing or misplacing them.
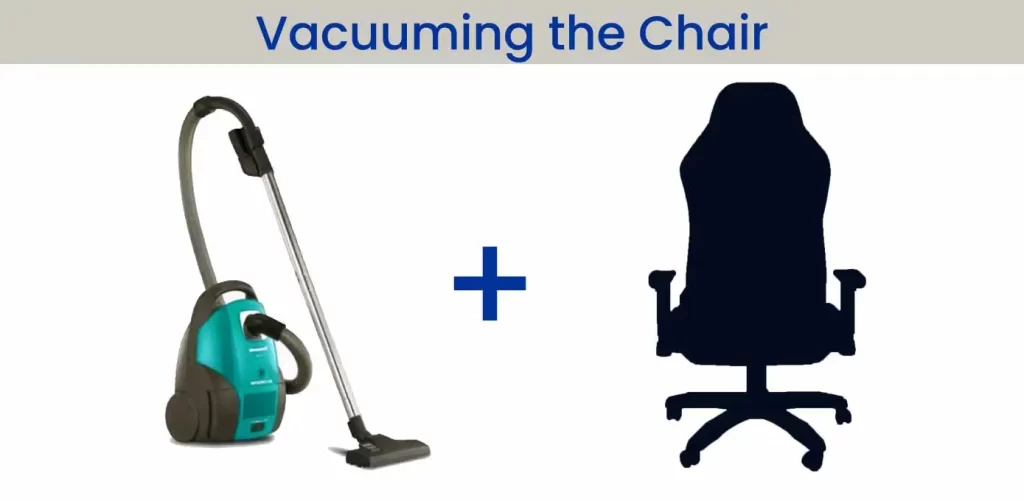
Step#2 – Vacuuming the Chair
Once done with detaching the parts, start a vacuum cleaning. For this, use a soft brush attachment on your vacuum cleaner to remove any dust, debris, and hairs from the surface of the chair. Be sure to pay attention to the crevices and seams where dirt can often accumulate.
Thoroughly vacuum the underneath areas of detachable parts to get rid of any hidden debris. Be sure to also vacuum any clips, screws, or other fasteners that hold the detachable parts in place to ensure that they are free of dirt and debris.
Regular vacuuming can help to prevent dirt and dust from building up on your chair, which can cause discoloration or even damage to the fabric or material over time. For cleanliness and hygiene, vacuum the chair at least once a week.
Note: Natural Leather and Artificial/PU Leather have less porous surfaces and do not require vacuuming. Simply use a semi-damp piece of cloth to wipe the leather.
Never use a chemical that contains alcohol as it adversely damages the leather. For a detailed guide, please read our article to deal with leather stains. If you have kind of hairspray stains, you can easily remove them by following these tips and tricks.
Step#3 – Pre-Treatment of Stains
Knowing the Nature of Stains
Pre-treatment of stains on a chair is an important step in the cleaning process to ensure that the stain is effectively removed. The first step is to identify the type of stain and the material of the chair, as different stains and materials may require different treatment methods. For example, a water-based stain on a fabric chair may require a different treatment than an oil-based stain on a leather chair.
Applying Pre-Treatment Solution
Once you have identified the stain and material, you can apply pre-treatment by blotting up any excess liquid or residue using a clean cloth or paper towel. Avoid rubbing the stain, as this can cause it to spread and become more difficult to remove. Now apply a pre-treatment solution to the stain by following the manufacturer’s instructions and being careful to avoid any areas of the chair that may be sensitive to the solution.
Removing the Stains
Allow the pre-treatment solution to soak into the stain for the recommended time, and then use a clean cloth to gently blot and remove the stain. Be sure to rinse the area thoroughly with water and allow it to dry completely before using the chair again. By pre-treating stains on your chair, you can increase the likelihood of removing the stain completely and avoid any further damage to the chair’s material.
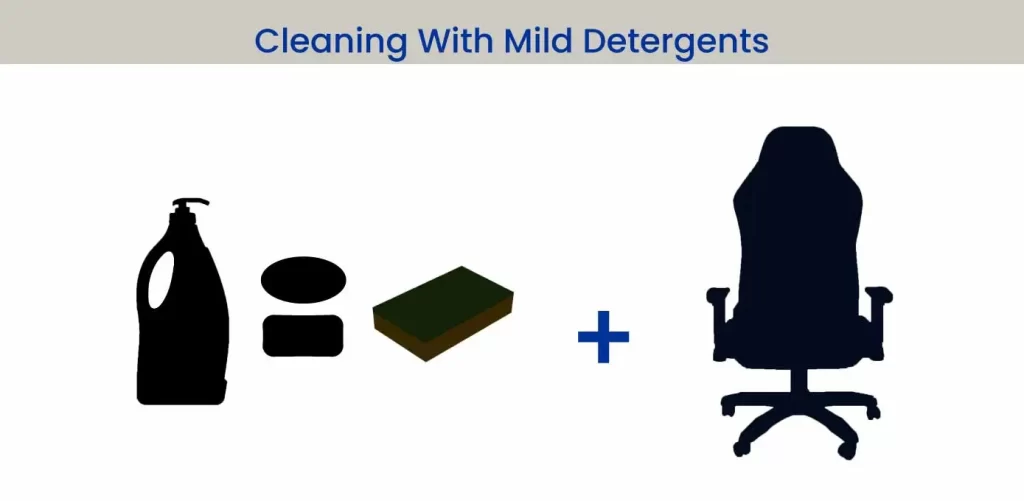
Step#4 – Cleaning With Mild Detergents
Cleaning your chair with a mild detergent is a safe and effective way to remove dirt, grime, and stains without causing damage to the material. To start, mix a small amount of mild detergent with warm water in a bucket or bowl. Dip a clean cloth or sponge into the solution and wring out any excess liquid.
Now, gently wipe down the surface of the chair, being careful not to oversaturate the material. Don’t apply too much water as it causes the material to become waterlogged and takes a longer time to dry. By cleaning your chair with a mild detergent, you can help to maintain its appearance and prolong its lifespan.
Step#5 – Rinsing the Chair
Rinse the chair thoroughly after applying mild detergent to remove any remaining residues. Residues left on the chair attract dirt and grime, making it appear dirty and dull.
Dampen a clean cloth or sponge with clean water and wipe down the surface of the chair to rinse it. Remove all detergent traces from the material, especially in crevices and seams where soap may build up.
Step#6 – Drying the Chair
Drying the chair after rinsing is an important step in maintaining its cleanliness and preventing any potential damage. Once the water has been rinsed from the chair, it must be completely dried to prevent any water stains or mold growth. One option is to use a clean cloth or towel to dry the surface of the chair.
Another option is to use a fan or open window to allow for natural air drying. Ensure that all areas of the chair, including crevices and corners, are completely dry before use. Properly drying the chair helps maintain its good condition and ensures it remains a comfortable and clean seating option.
Step#7 – Reattaching the Detached Parts
Before reattaching, make sure that all the parts are completely dry to prevent damage or warping from residual moisture. Align parts properly and use provided screws/bolts to secure firmly.
It proves helpful to read and follow the manufacturer’s instructions or diagrams to ensure that the reassembly is done correctly. After reattaching all parts, inspect the chair for stability and structural soundness. With proper care and attention, the chair should be as good as new and ready for use once again.
Conclusion: How to deep clean gaming chair?
After a thorough discussion, we concluded that cleaning a gaming chair requires detailed steps to ensure all parts are properly maintained. Each step should be taken to remove dirt, dust, hair, smoke, and stains to achieve a thoroughly cleaned chair.
Maintain the appearance and functionality of your gaming chair by following these steps for comfort and support during gaming. Well-maintained chairs enhance the gaming experience and add value by extending their lifespan.
FAQs
How do you clean a gaming chair that smells?
If your gaming chair has a persistent odor, it can be quite unpleasant and distracting during your gaming sessions. To clean a gaming chair that smells, start by identifying the source of the odor. If it’s due to sweat, food spills, or other organic matter, you’ll need to clean the chair thoroughly using a mild detergent or cleaner.
Be sure to target any areas that may have absorbed the odor, such as the armrests, headrests, and seat cushions. After cleaning, use a fabric refresher or deodorizer to neutralize any remaining odors.
For more stubborn smells, you can try using a baking soda and water solution to remove the odor. Make a paste of equal parts baking soda and water, apply it to the affected areas, and let it sit for several hours before vacuuming. For persistent odor, try an air purifier or leave the chair outside in fresh air and sunshine for a few hours.
How do you clean upholstery on a gaming chair?
To clean the upholstery on a gaming chair, start by vacuuming any loose dirt and debris. Scrub soiled areas of upholstery with a fabric cleaner and soft-bristled brush in a circular motion. Afterward, rinse the area with a damp cloth and allow it to air dry completely.
Test detergent and warm water on a small area before using on tough stains to avoid damage. It is important to check the manufacturer’s instructions for specific cleaning recommendations for your gaming chair.
How do you clean a mesh gaming chair?
First vacuum or brush away any loose debris and dust. Then use a mild detergent or cleaner and mix it with water. Use a soft-bristled brush to gently scrub the mesh. Be careful not to scrub too hard or vigorously as this could damage the mesh.
Afterward, rinse the mesh with a damp cloth and allow it to air dry completely.
Note: Never use harsh chemicals or abrasive cleaners that could cause damage to the mesh fabric.